Recently, I have been playing with Artifical Intelligence a little bit. I want to take on this subject a little bit more serious and I was looking for a playground to combine gaming with AI, to make it fun. I came accross the OpenAI Gym which has a built in Atari simulator! How cool is it to write an AI model to play Pacman.
I’m a Windows power user, always have been. I have tried Ubuntu and MacOS but those don’t cut it for me. However the Atari simulator is only supported for Linux, so I have to use Linux. Recently I have heard about WSL (Windows Subsystem for Linux) which is a lite weight way of running Ubuntu on Windows. I thought I’d use that, but sadly it doesn’t bring an UI, and I need one to see Pacman crushing those ghosts. But I managed to fix that.
In this blogpost I’ll show you how to run an OpenAI Gym Atari Emulator on WSL with an UI. Secondly I’ll show you how to run Python code against it. This blogpost doesn’t include the AI part because I still have to learn it :)
Install Ubuntu on WSL for Windows
First of all we have to enable WSL in Windows, you can simply do that by executing the following Powershell code in Admin mode.
1 | Enable-WindowsOptionalFeature -Online -FeatureName Microsoft-Windows-Subsystem-Linux |
After that you can install a Linux distro. I took the Ubuntu 18.04 LTS version. You can easily install it via the Microsoft Store. Don’t forget to execute the following Powershell in Admin mode to enable WSL in Windows.
Once Ubuntu is installed it will prompt you for an admin username and password. After that make sure to update and upgrade Ubuntu, using the following bash command.
1 | sudo apt-get update && sudo apt-get upgrade -y && sudo apt-get upgrade -y && sudo apt-get dist-upgrade -y && sudo apt-get autoremove -y |
For a complete guide on installing WSL on Windows please visit this website.
Screen mirroring
Now that we’ve got WSL running on Windows its time to get the UI working. WSL doesn’t come with a graphical user interface. OpenAI Gym however does require a user interface. We can fix that with mirroring the screen to a X11 display server. With X11 you can add a remote display on WSL and a X11 Server to your Windows machine. With this UI can be mirrored to your Windows host.
First of all we need a X11 Server for Windows. I used the Xming X Server for Windows. Download it and install it on your host machine.
After that we have to link the WSL instance to the remote display server, running on Windows. Execute the following code inside your WSL terminal.
1 | echo "export DISPLAY=localhost:0.0" >> ~/.bashrc |
After that restart the bash terminal or execute this command.
1 | . ~/.bashrc |
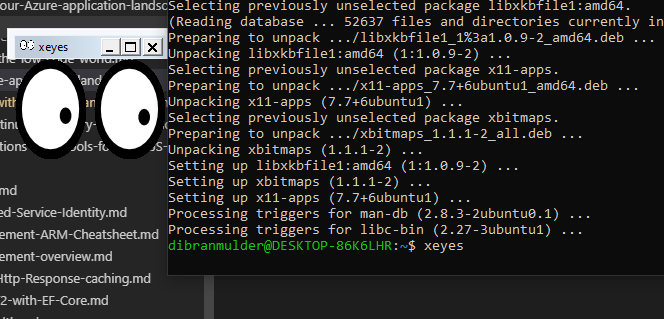
It’s as simple as that. You can test if the mirroring works by installing for instance the X11 Apps. It comes with a funny demo application.
1 | sudo apt-get install x11-apps |
The last thing you have to install is OpenGL for Python. OpenAI Gym uses OpenGL for Python but its not installed in WSL by default.
1 | sudo apt-get install python-opengl |
Anaconda and Gym creation
Now that we’ve got the screen mirroring working its time to run an OpenAI Gym. I use Anaconda to create a virtual environment to make sure that my Python versions and packages are correct.
First of all install Anaconda’s dependencies.
1 | sudo apt-get install cmake zlib1g-dev xorg-dev libgtk2.0-0 python-matplotlib swig python-opengl xvfb |
After that download the shell script for Anaconda and install it.
1 | # Download Anaconda |
Refresh the bash or start the terminal.
1 | . ~/.bashrc |
Now that we’ve got Anaconda installed we can create a virtual environment. Use Python 3.5 because the OpenAI Gym supports that version.
1 | # Create the environment |
Now that we are inside the environment its time to install the OpenAI Gym package. You can do that by simply executing this code.
1 | # Install the gym package |
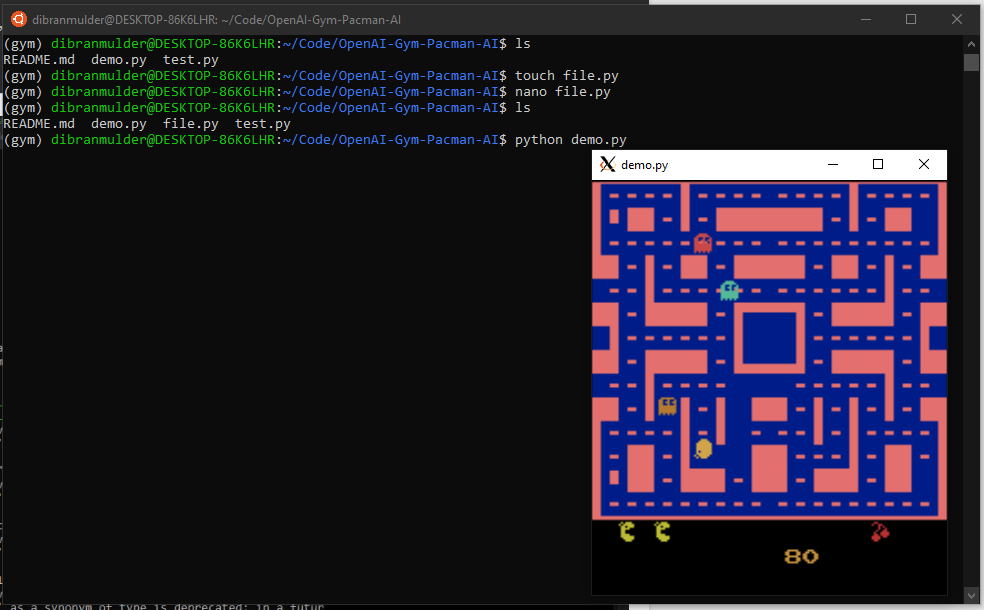
You should be ready! You can now create a Python file with a simple loop that creates a random input for the pacman.
1 | (gym) user@machine: touch test.py |
With the following code.
1 | import time |
VS Code
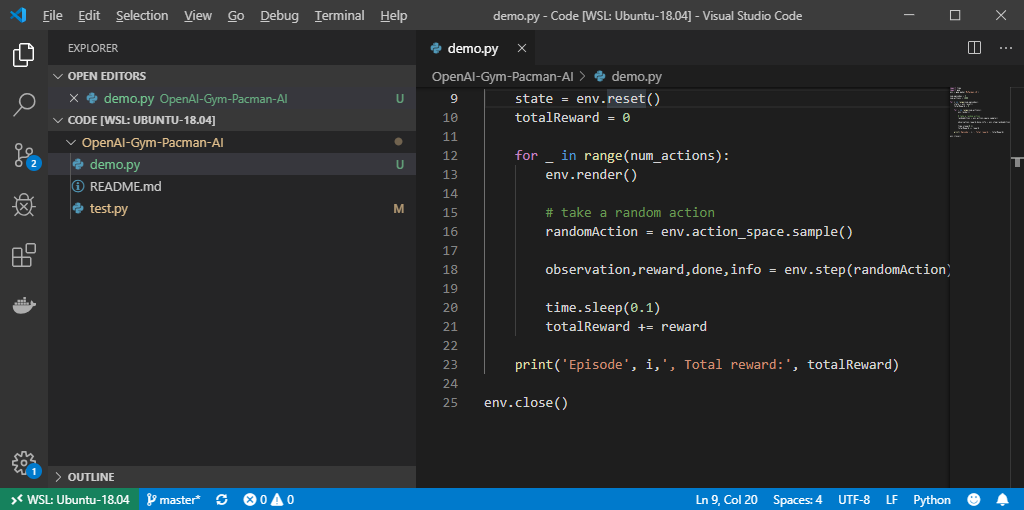
Working with Nano is a pain in the ass. I prefer VS Code as a development environment. Luckily VS Code comes with a great extension for WSL development called Remote - WSL. You can simply install it and connect with a WSL environment.
Thats about it! Happy coding.